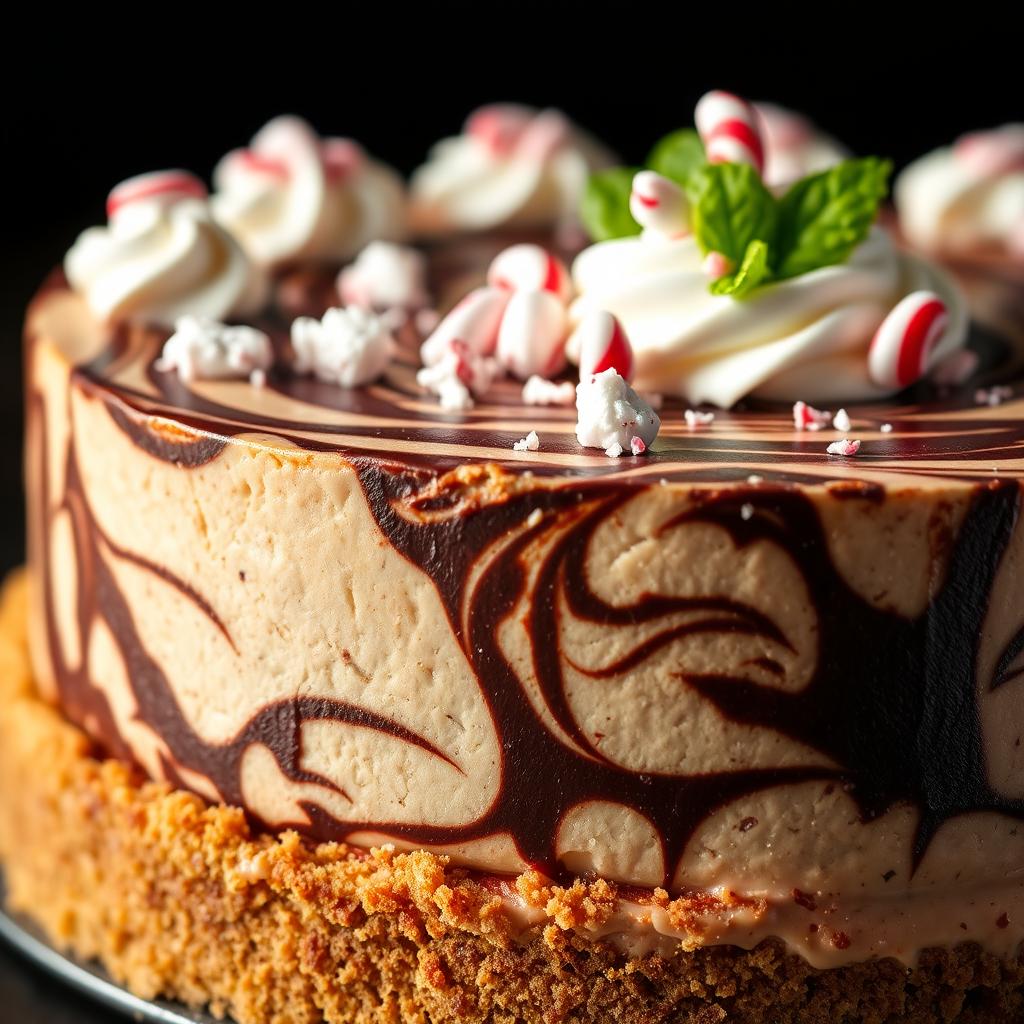
Looking to wow at holiday parties? Peppermint chocolate cheesecake is your go-to. It’s a mix of smooth chocolate and cool peppermint, making it unforgettable. This dessert is perfect for any celebration, with its shiny look and festive vibe.

Baking for Christmas, New Year’s, or a family get-together? This cheesecake is a hit. It has rich chocolate and peppermint’s refreshing taste. Our guide will help you make this crowd-pleaser, from start to finish.
Key Takeaways
- Learn how to craft a holiday dessert recipe that dazzles with minimal effort.
- Discover ingredient secrets for a smooth, crack-free festive cheesecake.
- Get tips to customize the recipe for dietary preferences like dairy-free options.
- Master presentation tricks using peppermint garnishes and chocolate designs.
- Store and serve the dessert confidently with expert timing and storage advice.
Introduction to Peppermint Chocolate Cheesecake
Peppermint chocolate cheesecake is a holiday favorite. It combines the coolness of mint with the richness of chocolate. This mint chocolate dessert is a perfect mix of indulgence and lightness, making it a hit during holiday baking seasons. Its vibrant color and contrasting flavors make it a showstopper for any festive feast.
The Perfect Holiday Indulgence
As a christmas cheesecake, it adds a festive twist to classic chocolate flavors. The cool mint balances the sweetness, creating a dessert that’s both nostalgic and new. Families and friends gather around it, making it the perfect centerpiece for holiday meals.
A Brief History of Flavor Combination
Mint and chocolate have been together since Victorian-era candies. But it really took off in the 1950s with peppermint bark. Bakers then turned this combo into cakes and pies. Today, peppermint bark cheesecake versions honor that history while innovating with cheesecake’s creaminess. Its rise in holiday baking traditions shows its timeless appeal.
Why This Recipe Stands Out
What makes this recipe special? It’s simple yet impactful. The peppermint bark cheesecake uses a no-crack technique, ensuring a flawless finish. Key features include:
- Layered filling with alternating mint and chocolate swirls
- A glossy chocolate-dipped peppermint candy garnish
- Instructions designed for beginners to achieve professional results
Every bite delivers a texture contrast that feels like a gourmet treat—no complicated techniques required!
Essential Ingredients for a Perfect Peppermint Chocolate Cheesecake
Choosing the right ingredients is key for a standout dessert. Start with cream cheese brands like Philadelphia or Neufchâtel for a smooth base. Make sure the cream cheese is at room temperature to avoid lumps.
For the chocolate cookie crust, Nabisco’s Oreos or Ritz crackers are great. Crush them and bake for a sturdy texture.
- Quality chocolate: Use semi-sweet morsels for balance or dark chocolate (70% cocoa) for depth. Avoid waxy grocery store bars—opt for Callebaut or Ghirardelli.
- Peppermint extract delivers bright flavor. Pure extract works best; skip imitation versions for authenticity.
“The crust isn’t just a base—it’s the first bite. Use premium cookies to elevate the whole experience.” — Baking Expert, The Cake Lab
Sweeteners like granulated sugar stabilize the filling, while cornstarch prevents cracking. Substitute almond flour for gluten-free chocolate cookie crust if needed. Always measure cocoa powder by weight for consistency.
Pro tip: Stock up on these essentials before mixing. Check expiration dates on extracts and ensure chocolate is fresh for best meltability. Every ingredient matters in this flavor dance!
Equipment You’ll Need
Every great cheesecake starts with the right tools. Whether you’re a baking pro or new to the kitchen, knowing your equipment ensures a smooth process. Let’s break down what you’ll need to create that showstopping peppermint chocolate masterpiece.
Baking Tools
A quality springform pan is your foundation. Choose an 8-, 9-, or 10-inch size based on your crowd. For leak-free results, wrap the bottom in foil before the water bath cheesecake step—place the pan in a roasting pan filled with hot water. A rimmed baking sheet works if you don’t have a roaster.
Mixing Equipment
A stand mixer makes blending cream cheese and sugar effortless, but a hand mixer works too. For the crust, a food processor grinds cookies to perfection, though a ziplock bag and rolling pin are DIY alternatives. Don’t forget silicone spatulas and mixing bowls!
Optional Specialty Items
- Offset spatula: Smooths the top for a professional finish.
- Candy thermometer: Perfect for tempering ganache.
- Piping bags: Add festive peppermint swirls without mess.
Whatever tools you have, adapt and improvise. Creativity in the kitchen is key—your cheesecake will thank you!
Step-by-Step Recipe Instructions
Learn to make the perfect peppermint chocolate cheesecake with these easy steps. Each step is crafted for success, combining skill with taste for a smooth, crack-free treat.

Preparing the Chocolate Cookie Crust
Begin with a solid base. Mix 2 cups of chocolate wafer crumbs, 1/2 cup of melted butter, and 1/4 cup of sugar until it’s moist. Press it firmly into a 9-inch springform pan. Bake at 350°F for 10 minutes to make it firm—this stops it from getting soggy.
Creating the Peppermint Cheesecake Filling
- Cream 4 room-temperature cream cheese blocks until smooth.
- Beat in 1 cup sugar, then 2 tsp peppermint extract (adjust to taste).
- Add 2 cups heavy cream and 2 tsp vanilla, mixing gently to avoid air bubbles.
Pro tip: Use a stand mixer on low speed for 2 minutes to ensure even incorporation.
Baking Techniques for Perfect Texture
Employ the water bath method by wrapping the pan base in foil. Place it in a roasting pan filled halfway with boiling water. Bake at the best baking temperature of 300°F for 60-70 minutes. The center should slightly jiggle—this firms as it cools.
“The water bath method is non-negotiable for a no-crack cheesecake—it cushions against oven fluctuations.” – Professional Baking Guide
Cooling and Setting Process
Turn off the oven, let it rest inside for an hour. Cool at room temperature for 4 hours, then refrigerate uncovered overnight. This slow cooling prevents cracks.
The Secret to a Crack-Free Cheesecake Surface
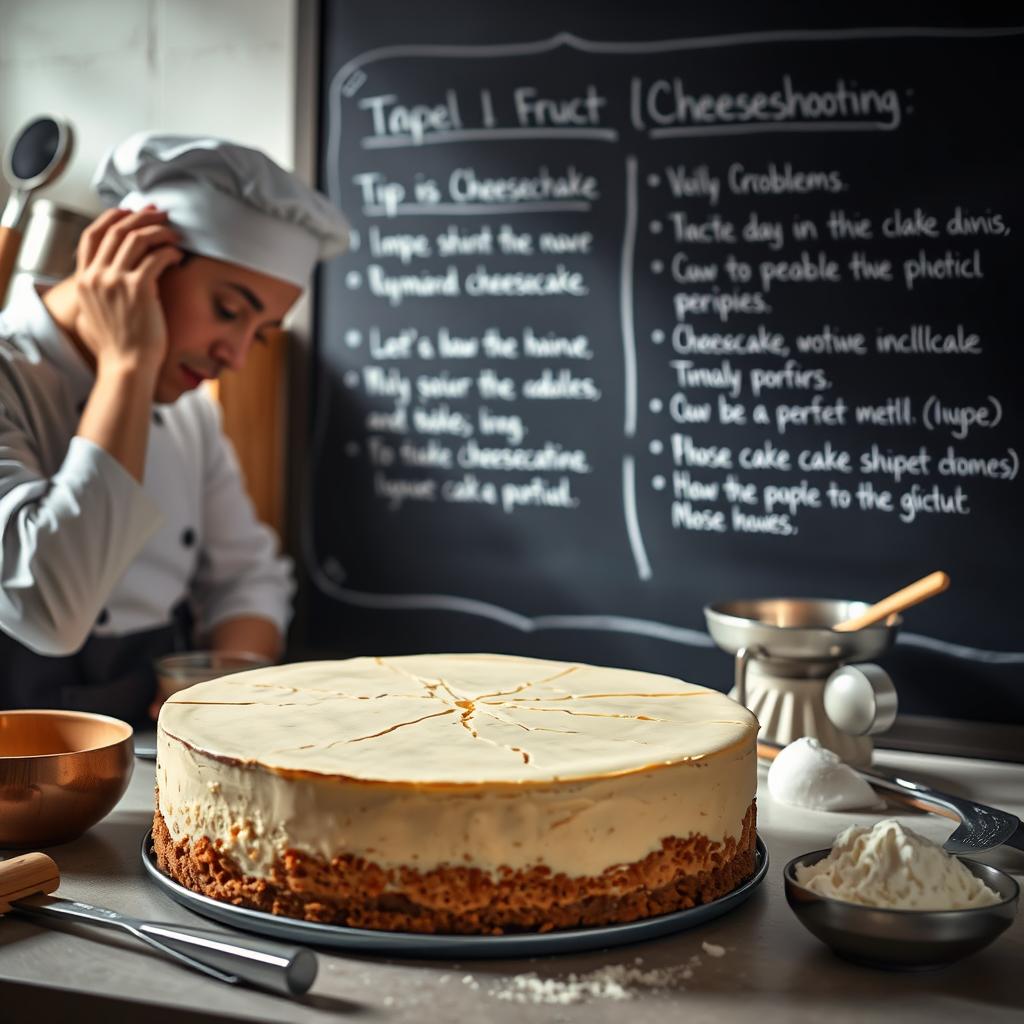
Getting a smooth cheesecake top is all about avoiding cracks. Cracks come from quick cooling or oven temperature changes. Here are some tips to prevent cheesecake cracks and get a perfect finish.
Start with the water bath technique. Put your springform pan in a roasting dish with hot water. This keeps the oven moist and slows down temperature changes. Here are the important steps:
- Wrap the pan base in aluminum foil to avoid water seepage.
- Position the dish in the center oven rack for even heat distribution.
- Bake at 325°F (160°C)—lower temps prevent overbaking.
After baking, cool the cheesecake gently. Turn off the oven, open the door a bit, and let it rest for 30 minutes. This slow cooling is like what pros do. Then, chill it in the fridge overnight on a wire rack to avoid moisture pooling.
“Humidity is your ally,” says pastry chef Emily Torres of New York’s Butter & Brioche. “A cracked top isn’t a failure—swirl mint ganache over minor imperfections for a festive finish.”
If cracks still show, cover them with crushed peppermint candies or chocolate shavings. With patience and precision, you can become a pro at avoiding cracks. The water bath technique and slow cooling keep your cheesecake moist and perfect every time.
Decorating Your Peppermint Chocolate Cheesecake
Make your cheesecake a holiday showstopper with these decorating tips. Add silky glazes and festive touches to boost its look. Keep the peppermint flavor in the spotlight.
Ganache Topping Options
Mastering the chocolate ganache recipe is crucial. For a glaze, mix heavy cream and chocolate in equal parts. Heat it gently until it’s smooth, then pour it over the cheesecake.
For a thicker ganache, use less cream. Try 1 cup of cream to 1.5 cups of chocolate. Use a piping bag to drizzle white chocolate drizzle for fun swirls.
Peppermint Garnishes
Crushed candy canes add a nice crunch. Sprinkle them over the cooled ganache. For a striking look, layer them with peppermint bark.
Secure peppermint sticks around the edges. Or, place fresh mint leaves between white chocolate curls. Use a toothpick to press toppings into the ganache.
Festive Holiday Presentations
Make your dessert a holiday centerpiece. Place it on a mirrored platter or a bed of red and green sprinkles. Add edible gold luster for a touch of luxury.
Surround the plate with peppermint candies. For a simple look, serve slices on individual plates. Add a white chocolate drizzle and a candy cane garnish. Dust with cocoa powder for a rustic touch.
Flavor Variations and Adaptations
Make your peppermint cheesecake your own with these easy swaps. Want something lighter or bold new flavors? These tips keep the classic taste while offering more options.
White Chocolate Peppermint Version
Try white chocolate peppermint instead of dark chocolate for a sweeter taste. Use Callebaut or Ghirardelli white chocolate for smooth mixing. Top with white chocolate ganache and crushed candy canes for a festive look.
Vegan Cheesecake Adaptation
Make a vegan cheesecake adaptation with Kite Hill Vegan Cream Cheese or Miyoko’s Creamery. Replace eggs with aquafaba (1/4 cup per egg) and use coconut oil in the crust. Choose non-dairy milk with 8-10% fat for creaminess.
- Use full-fat coconut milk for the filling to avoid separation
- Test brands in small batches to match preferred texture
Mini Cheesecakes
Make mini cheesecakes in silicone molds or muffin tins. Bake for 18-20 minutes until golden. Top with peppermint frosting or edible glitter. Great for parties or portion control.
Try flavor variations like adding espresso powder or raspberry jam swirls. Adjust sweetness with vegan ingredients. Share your creations and inspire others!
Serving Suggestions and Pairings
Serve your peppermint chocolate cheesecake slightly chilled. This brings out its velvety texture and minty freshness. Choose drinks that enhance its rich flavors without taking over.
For coffee pairing, go for bold espresso or a peppermint mocha. The caffeine and mocha’s cocoa complement the cheesecake’s chocolate base. A hot chocolate with cinnamon or chili adds warmth, balancing the mint.

Pair it with dessert wine like ruby port or late harvest riesling. Their sweetness contrasts the dark chocolate, and the wine’s acidity enhances the finish. For a non-alcoholic choice, try spiced chai tea.
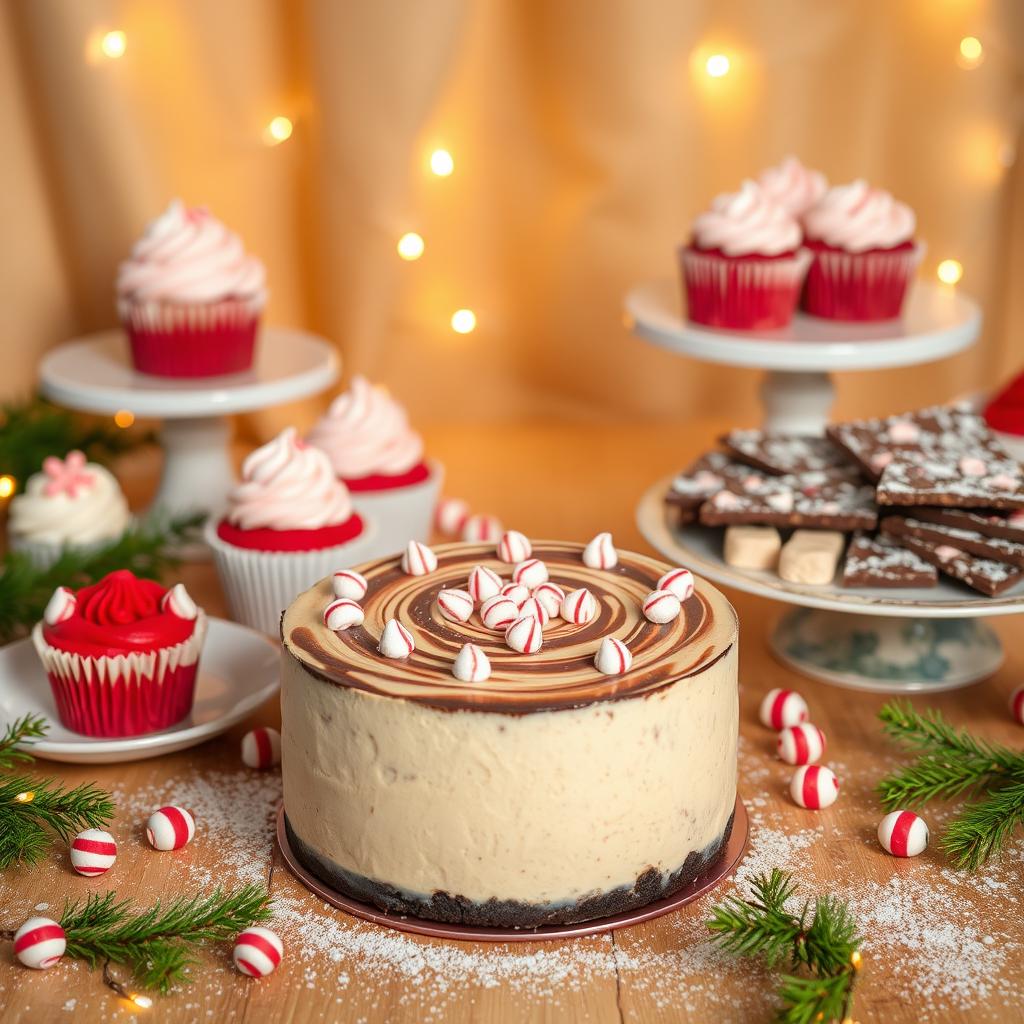
Make it the star of a holiday dessert table with mini cheesecakes on a platter. Add small bowls of whipped cream and crushed candy canes for guests to customize. Here’s how to set up your table:
| Beverage | Pairing Example |
|---|---|
| Coffee | Peppermint Mocha with 2% milk |
| Wine | Tawny port or ice wine |
| Hot Chocolate | Dark chocolate with orange zest |
Offer small portions to enjoy each bite fully. Decorate with fresh raspberries or crushed peppermint sticks for a pop of color. This dessert is perfect for family gatherings or cozy coffee nights, making it a highlight on any holiday dessert table.
Make-Ahead and Storage Tips
Make this peppermint chocolate cheesecake a stress-free dessert with these easy storage tips. Whether you’re freezing it for later or preparing for a party, these methods will keep it fresh and tasty.
Freezing Instructions
Freeze the cheesecake whole or in slices for up to 2 months. First, wrap it tightly in parchment paper, then in aluminum foil. Store it in an airtight container or freezer-safe bag, marked with the date. Add toppings like crushed peppermint after thawing to avoid sogginess.
- Wrap in parchment + foil for moisture protection
- Store in labeled containers for organization
- Freeze decorations separately
Thawing Methods
Thawing the cheesecake right prevents it from cracking or losing texture. Refrigerate it for 12–24 hours for even thawing. For quicker thawing, leave it at room temperature for 30–45 minutes (max 2 hours total).
Cheesecake Storage Timelines
| Storage Method | Max Time | Key Tips |
|---|---|---|
| Refrigerated (unfrosted) | 3–5 days | Cover with plastic wrap |
| Frozen (wrapped) | 2 months | Do not stack layers during freezing |
| Room Temp (decorated) | 2 hours max | Serve immediately after thawing |
Check if the cheesecake is fresh by smelling for a clean dairy scent and feeling for a firm texture. If it smells bad or looks off, it’s time to throw it away.
Troubleshooting Common Cheesecake Problems

- Cheesecake sinking: A sunken center often happens when oven doors open too early. Let the cake cool in the oven 30 minutes with the door cracked before removing.
- Lumpy cheesecake batter: Overmixing or cold cream cheese causes clumps. Bring ingredients to room temperature and mix on low speed until smooth.
- Overbaked cheesecake: Overcooking dries out the texture. Use an instant-read thermometer—ideal internal temp is 160-165°F. A water bath helps stabilize heat.
- Soggy crust: Moisture from filling softens crust. Pre-bake the crust for 10 minutes before adding filling. Press crumbs firmly into the pan for structural strength.
“Baking’s a learning curve. Every mistake teaches you something,” says pastry chef Emily Rivera of NYC’s Frost & Flour. “Adjust, retry, and celebrate progress!”
For grainy textures, ensure powdered sugar is fully dissolved. Condensation forming? Let the cheesecake rest in the fridge uncovered overnight. Adjust peppermint extract gradually to balance flavors without overpowering chocolate notes. Remember: even professional kitchens have mishaps. These fixes turn near-disasters into delicious triumphs.
Conclusion
When the oven timer goes off, your peppermint chocolate dessert is ready. It’s a mix of flavors and textures that’s perfect for holidays. This cheesecake is great for any special occasion, from New Year’s to family dinners.
Even beginners can make it with the easy steps. You can also add your own touches like white chocolate swirls. This makes it truly yours.
It’s not about the perfect bake, but sharing moments together. Store leftovers carefully, but they’ll likely disappear fast. The peppermint chocolate taste makes it a favorite in many homes.
Start by gathering your ingredients and preheat the oven. Remember, baking is about joy and sharing. Your kitchen and guests will love this special dessert. Happy baking!
FAQ
What kind of chocolate should I use for the cheesecake?
For the best taste, use semi-sweet chocolate. You can also try dark or milk chocolate. Ghirardelli and Lindt are excellent choices for quality chocolate.
Can I make the peppermint chocolate cheesecake dairy-free?
Yes! Use plant-based cream cheese instead of traditional. Coconut cream or nut milks work well for creaminess. Make sure the chocolate is dairy-free too.
How should I store leftovers of my cheesecake?
Keep it in an airtight container in the fridge for up to 5 days. For longer storage, freeze it wrapped well for 2 months. Thaw in the fridge for the best texture.
Why is my cheesecake cracking on the surface?
Cracks can happen from sudden temperature changes or overmixing. Baking in a water bath and using room temperature ingredients can help avoid this.
Can I make mini cheesecakes with this recipe?
Yes! Use muffin tins or mini springform pans for individual servings. Bake for 20-25 minutes for mini cheesecakes.
How can I enhance the peppermint flavor?
Boost the peppermint by using peppermint extract or oil. But be careful not to add too much. Taste as you mix to find the right balance.
What are some good decoration ideas for my cheesecake?
Add chocolate ganache, crushed candy canes, and whipped cream for a beautiful look. Festive garnishes like peppermint bark or mint leaves also work well.
Can I prepare the cheesecake in advance for a party?
Yes! Bake and cool it a day before. Store it in the fridge until serving. Add garnishes just before serving.
What beverages pair well with the peppermint chocolate cheesecake?
It goes well with espresso, peppermint mocha, or dessert wine like Port. Mint tea or creamy hot chocolate are also great choices.
How do I know when the cheesecake is done baking?
Check by gently shaking the pan. The edges should be set, but the center should jiggle slightly. The heat will set it as it cools.
